> ## Documentation Index
> Fetch the complete documentation index at: https://docs-v1.agno.com/llms.txt
> Use this file to discover all available pages before exploring further.
# A beautiful UI for your Agents
> A beautiful, open-source interface for interacting with AI agents
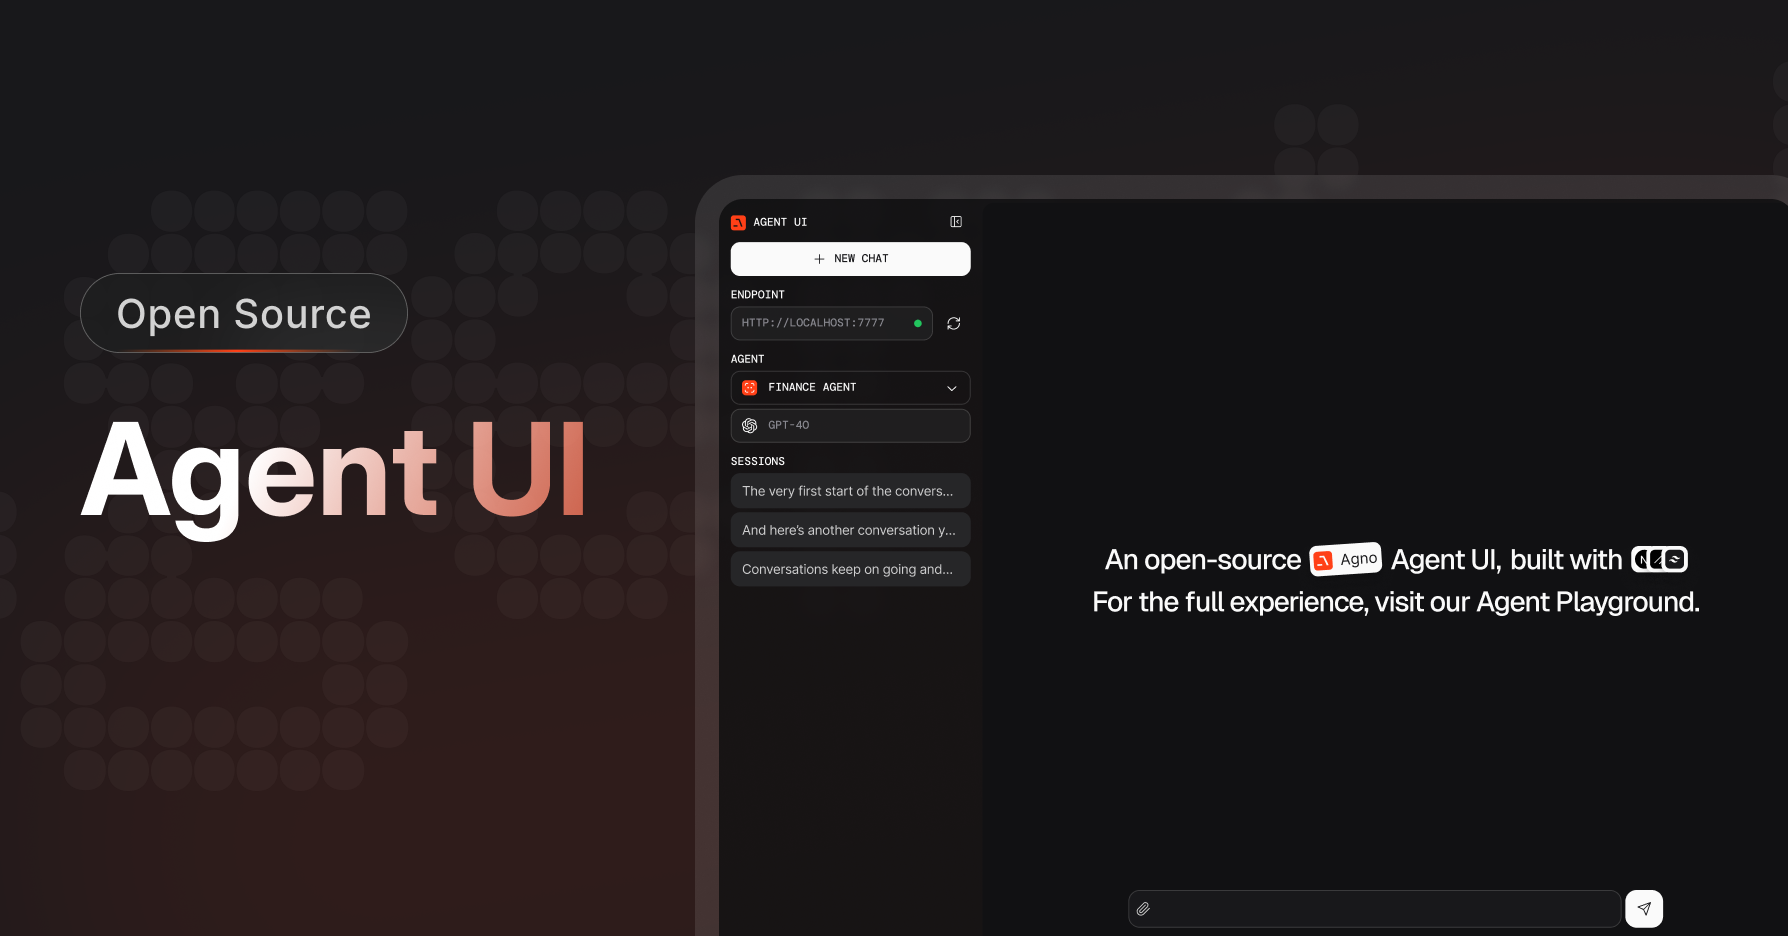 Agno provides a beautiful UI for interacting with your agents, completely open source, free to use and build on top of. It's a simple interface that allows you to chat with your agents, view their memory, knowledge, and more.
No data is sent to [agno.com](https://app.agno.com), all agent data is stored locally in your sqlite database.
The Open Source Agent UI is built with Next.js and TypeScript. After the success of the [Agent Playground](/introduction/playground), the community asked for a self-hosted alternative and we delivered!
# Get Started with Agent UI
To clone the Agent UI, run the following command in your terminal:
```bash theme={null}
npx create-agent-ui@latest
```
Enter `y` to create a new project, install dependencies, then run the agent-ui using:
```bash theme={null}
cd agent-ui && npm run dev
```
Open [http://localhost:3000](http://localhost:3000) to view the Agent UI, but remember to connect to your local agents.
Agno provides a beautiful UI for interacting with your agents, completely open source, free to use and build on top of. It's a simple interface that allows you to chat with your agents, view their memory, knowledge, and more.
No data is sent to [agno.com](https://app.agno.com), all agent data is stored locally in your sqlite database.
The Open Source Agent UI is built with Next.js and TypeScript. After the success of the [Agent Playground](/introduction/playground), the community asked for a self-hosted alternative and we delivered!
# Get Started with Agent UI
To clone the Agent UI, run the following command in your terminal:
```bash theme={null}
npx create-agent-ui@latest
```
Enter `y` to create a new project, install dependencies, then run the agent-ui using:
```bash theme={null}
cd agent-ui && npm run dev
```
Open [http://localhost:3000](http://localhost:3000) to view the Agent UI, but remember to connect to your local agents.
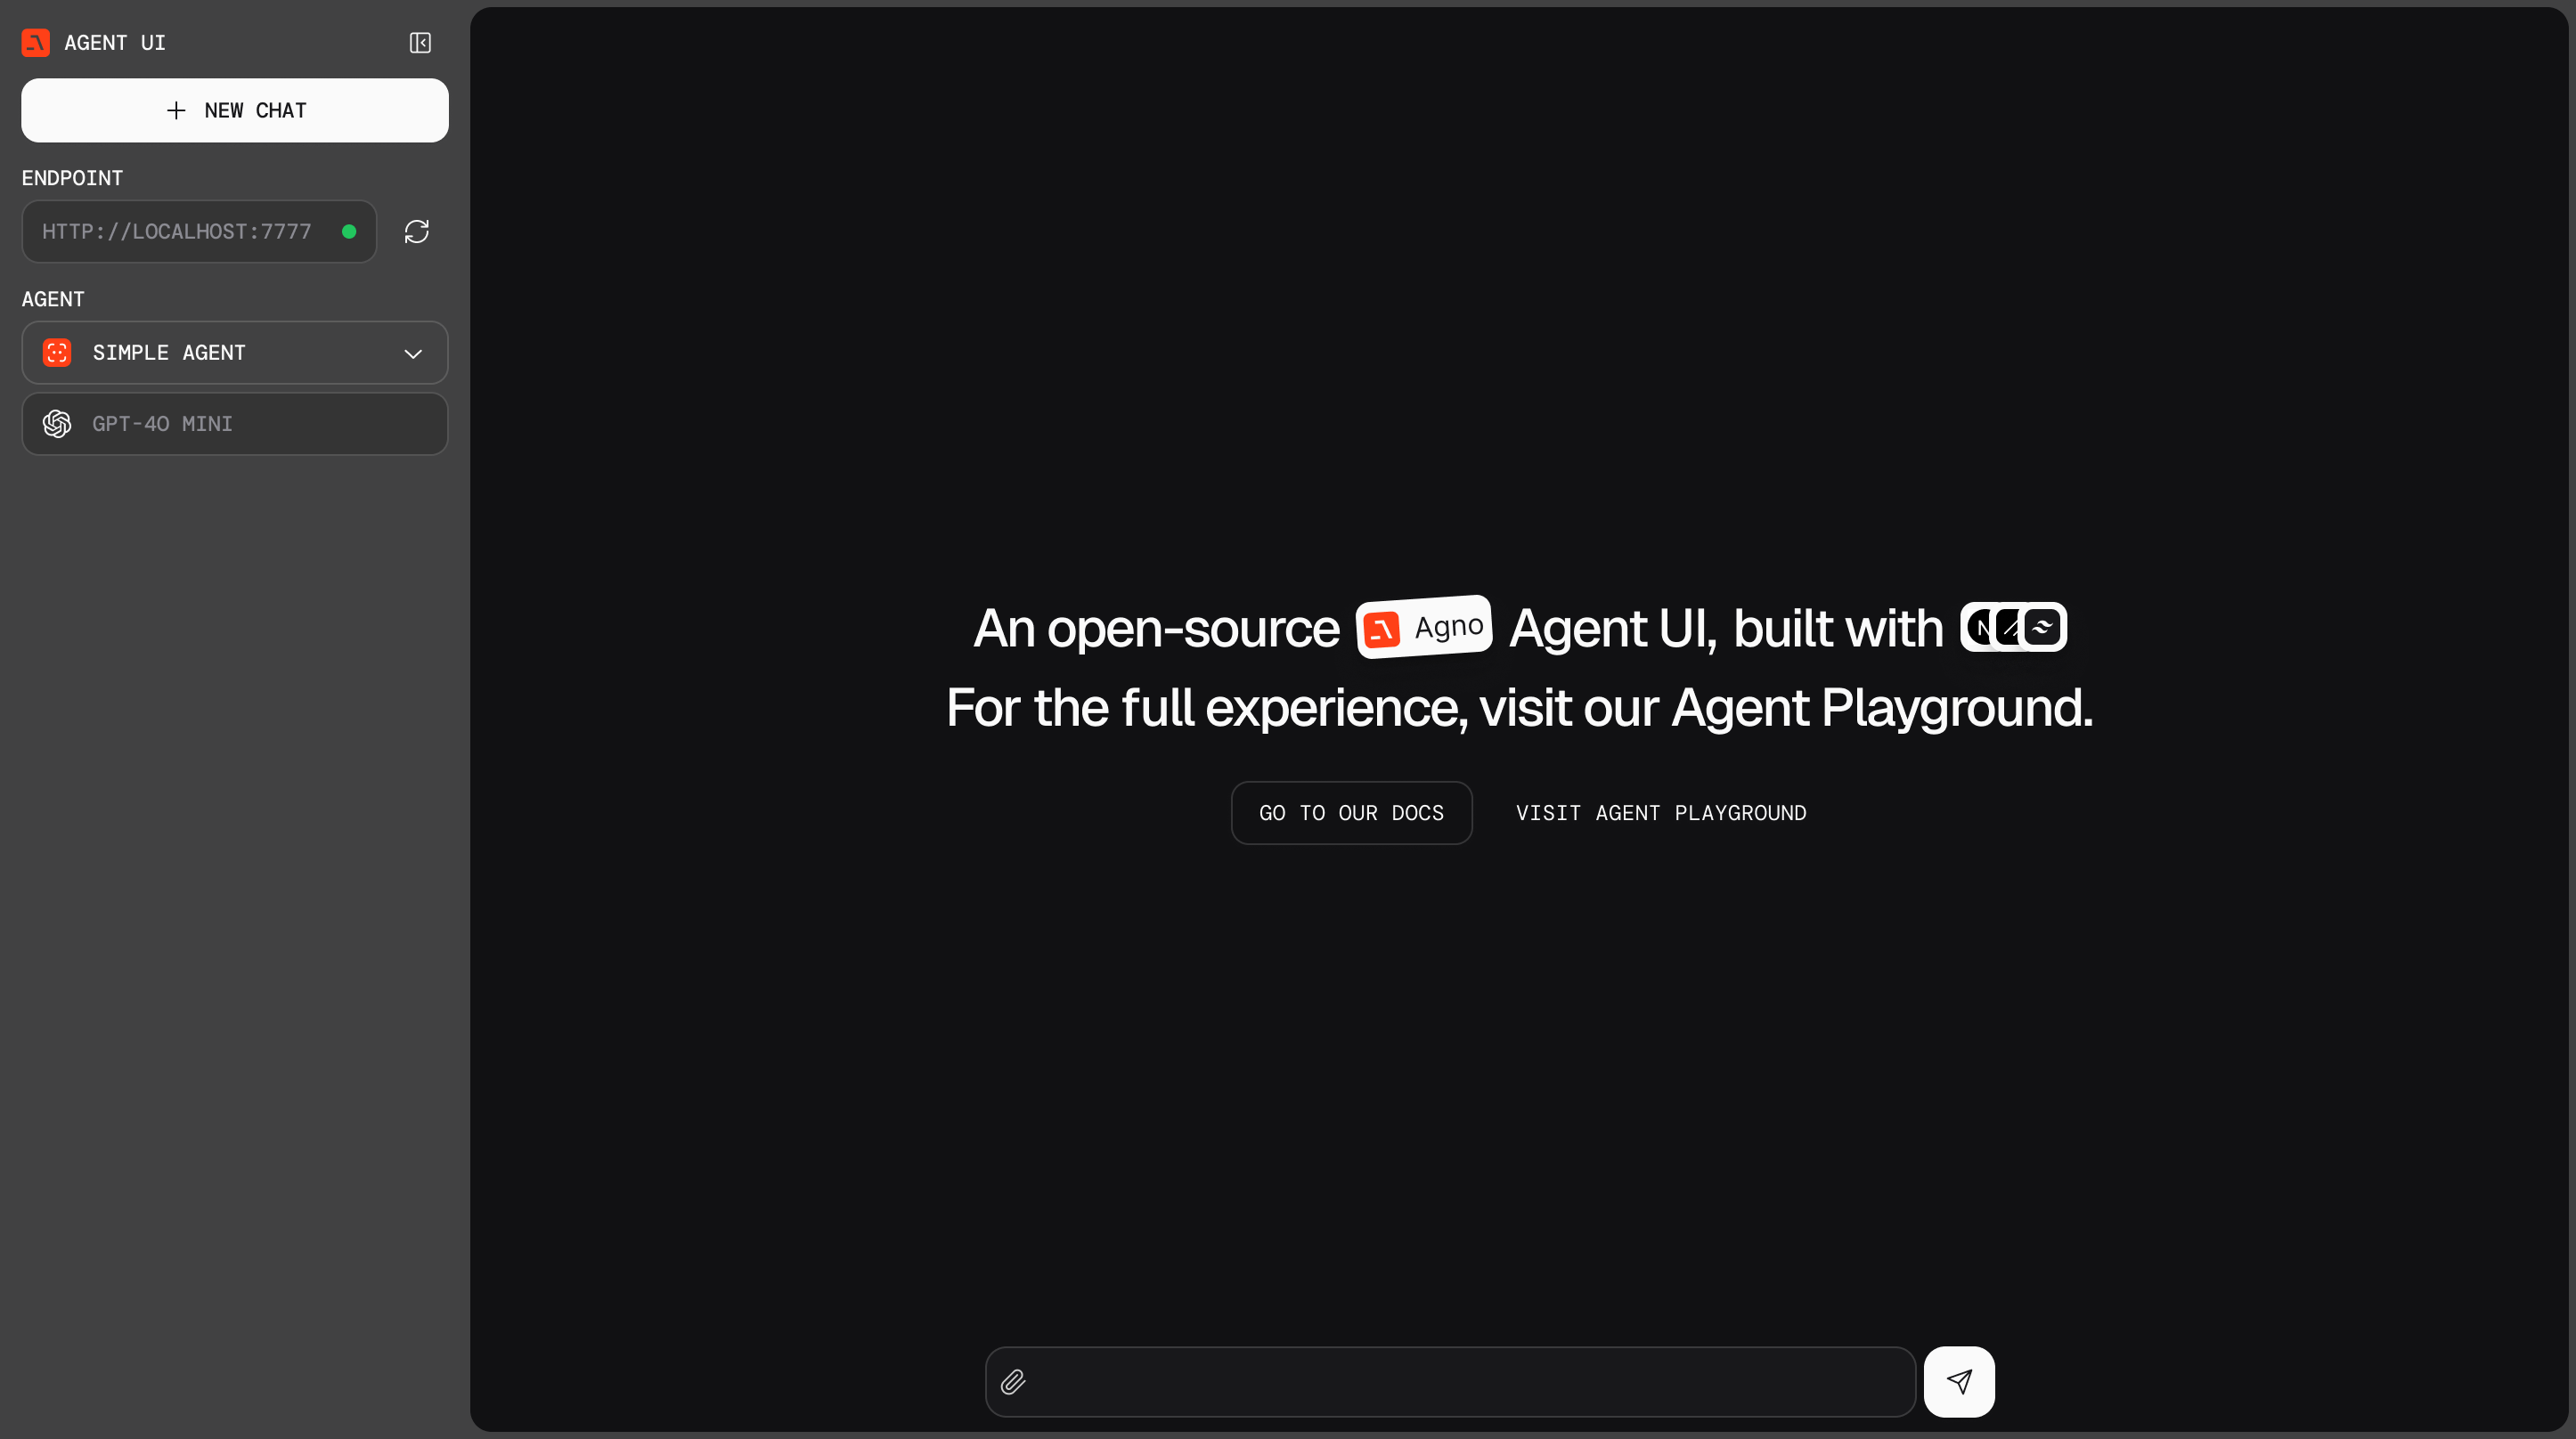
You can also clone the repository manually
```bash theme={null}
git clone https://github.com/agno-agi/agent-ui.git
```
And run the agent-ui using
```bash theme={null}
cd agent-ui && pnpm install && pnpm dev
```
## Connect to Local Agents
The Agent UI needs to connect to a playground server, which you can run locally or on any cloud provider.
Let's start with a local playground server. Create a file `playground.py`
```python playground.py theme={null}
from agno.agent import Agent
from agno.models.openai import OpenAIChat
from agno.playground import Playground
from agno.storage.sqlite import SqliteStorage
from agno.tools.duckduckgo import DuckDuckGoTools
agent_storage: str = "tmp/agents.db"
web_agent = Agent(
name="Web Agent",
model=OpenAIChat(id="gpt-4o"),
tools=[DuckDuckGoTools()],
instructions=["Always include sources"],
# Store the agent sessions in a sqlite database
storage=SqliteStorage(table_name="web_agent", db_file=agent_storage),
# Adds the current date and time to the instructions
add_datetime_to_instructions=True,
# Adds the history of the conversation to the messages
add_history_to_messages=True,
# Number of history responses to add to the messages
num_history_responses=5,
# Adds markdown formatting to the messages
markdown=True,
)
research_agent = Agent(
name="Research Agent",
model=OpenAIChat(id="gpt-4o"),
tools=[DuckDuckGoTools(search=True, news=True)],
instructions=["Always use tables to display data"],
storage=SqliteStorage(table_name="research_agent", db_file=agent_storage),
add_datetime_to_instructions=True,
add_history_to_messages=True,
num_history_responses=5,
markdown=True,
)
playground = Playground(agents=[web_agent, research_agent])
app = playground.get_app()
if __name__ == "__main__":
playground.serve("playground:app", reload=True)
```
In another terminal, run the playground server:
```bash Mac theme={null}
python3 -m venv .venv
source .venv/bin/activate
```
```bash Windows theme={null}
python3 -m venv aienv
aienv\Scripts\activate
```
```bash Mac theme={null}
pip install -U openai duckduckgo-search sqlalchemy 'fastapi[standard]' agno
```
```bash Windows theme={null}
pip install -U openai duckduckgo-search sqlalchemy 'fastapi[standard]' agno
```
```bash Mac theme={null}
export OPENAI_API_KEY=sk-***
```
```bash Windows theme={null}
setx OPENAI_API_KEY sk-***
```
```shell theme={null}
python playground.py
```
Make sure the `serve_playground_app()` points to the file containing your `Playground` app.
## View the playground
* Open [http://localhost:3000](http://localhost:3000) to view the Agent UI
* Select the `localhost:7777` endpoint and start chatting with your agents!